To edit, replace, or remove an attendee from an existing National FFA event group registration, click the Assign Attendee Names and Items link in your registration confirmation email to access the registration system. If necessary, log in with your FFA.org username and password associated with the registration.
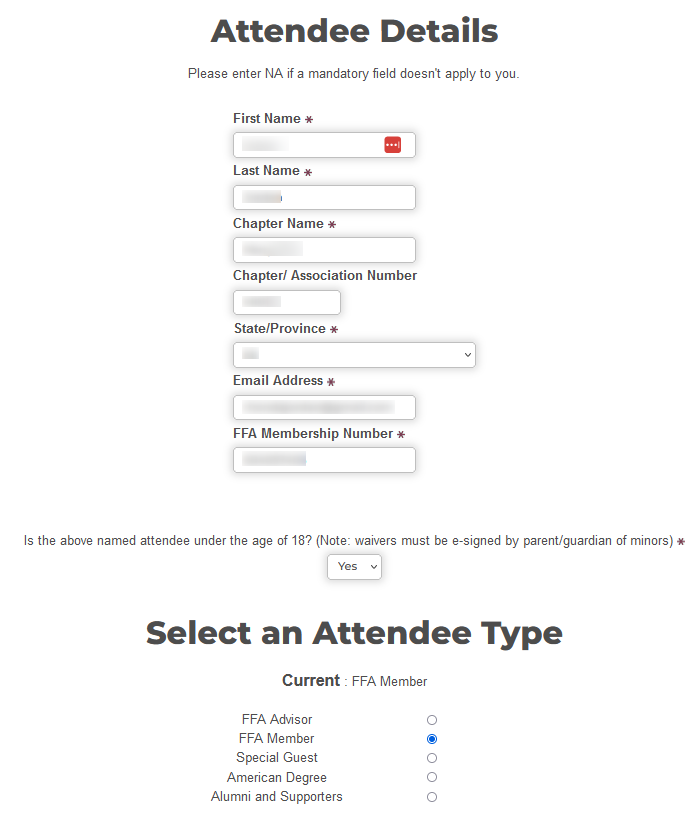
Edit attendee
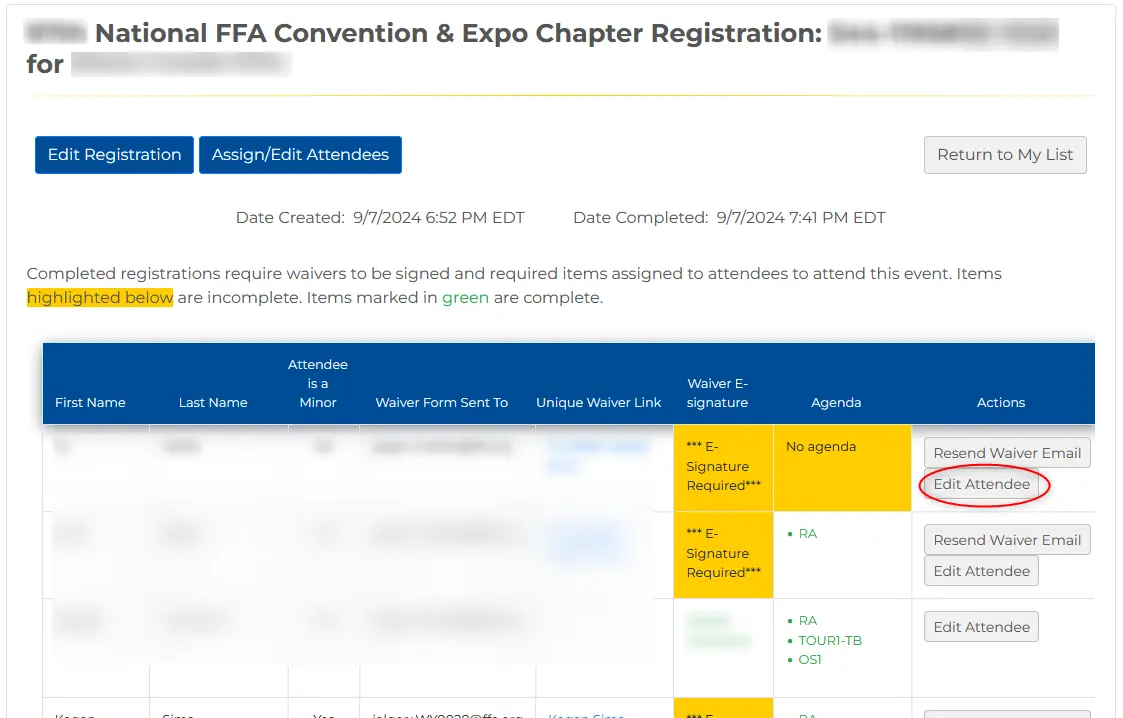
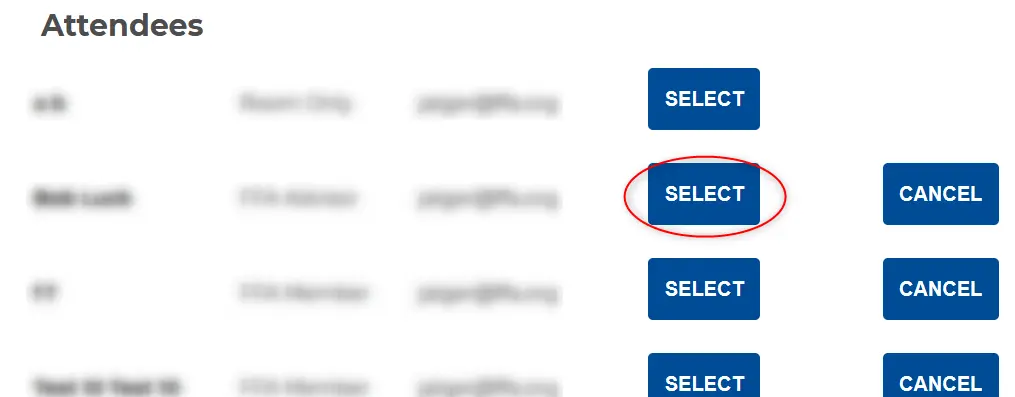
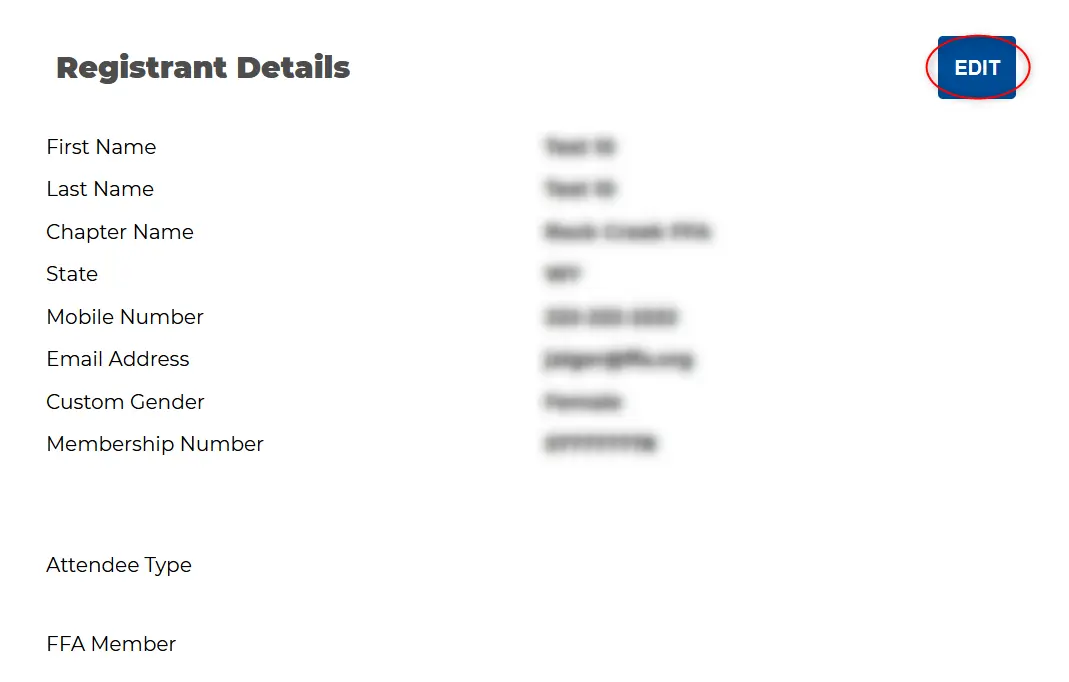
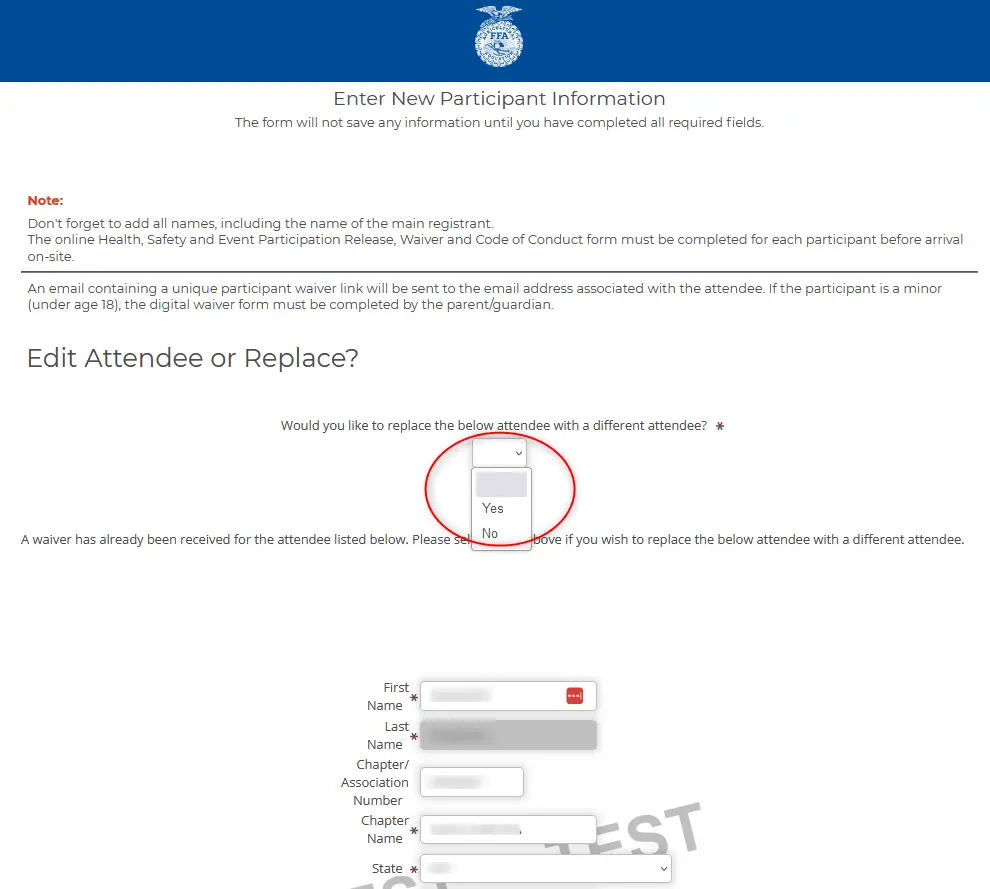
Once logged in, from the attendee dashboard, click the “Edit Attendee” button for the attendee you wish to edit.
Replace attendee
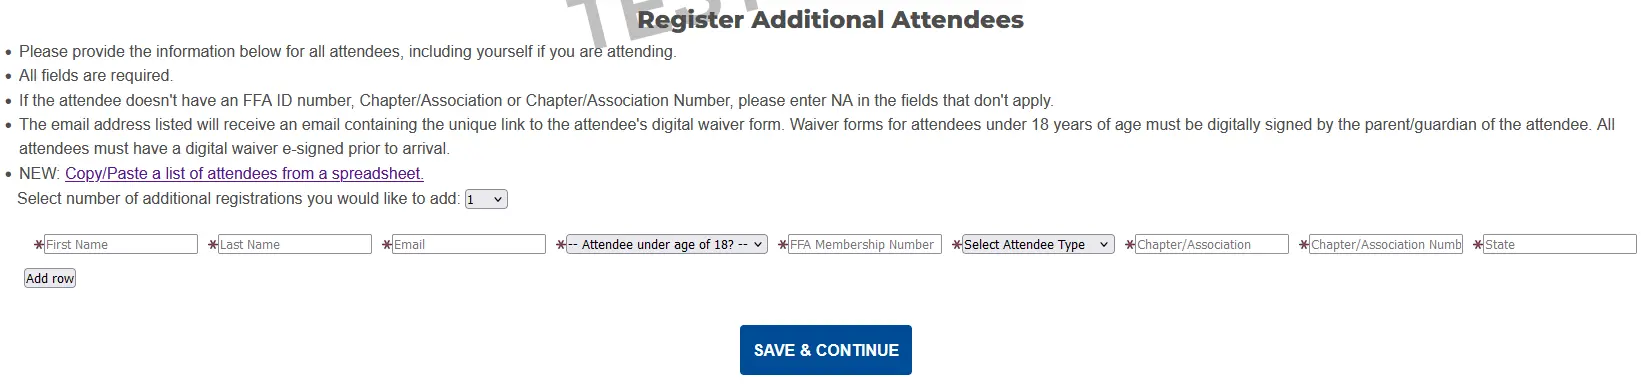
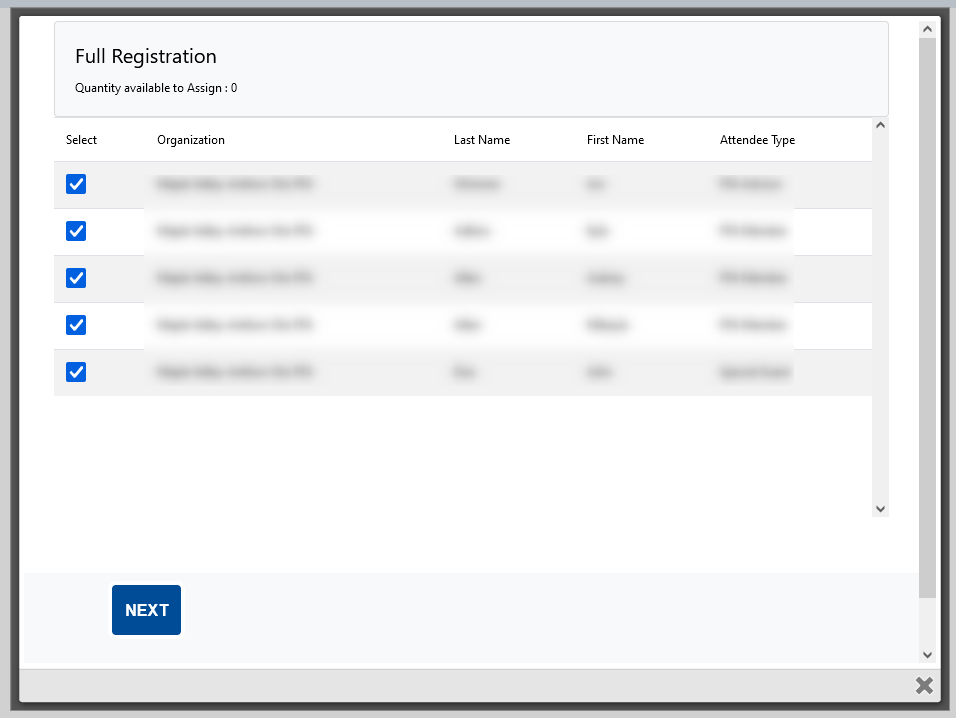
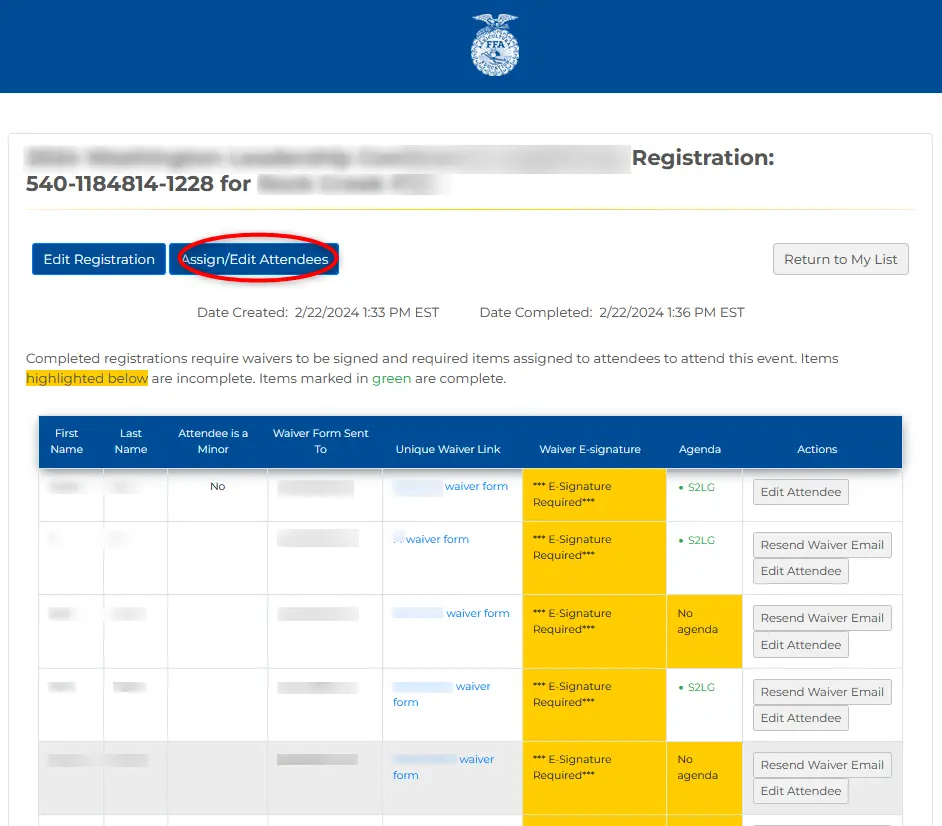
Once logged in, from the attendee dashboard, click Assign/Edit Attendees button. ![]()

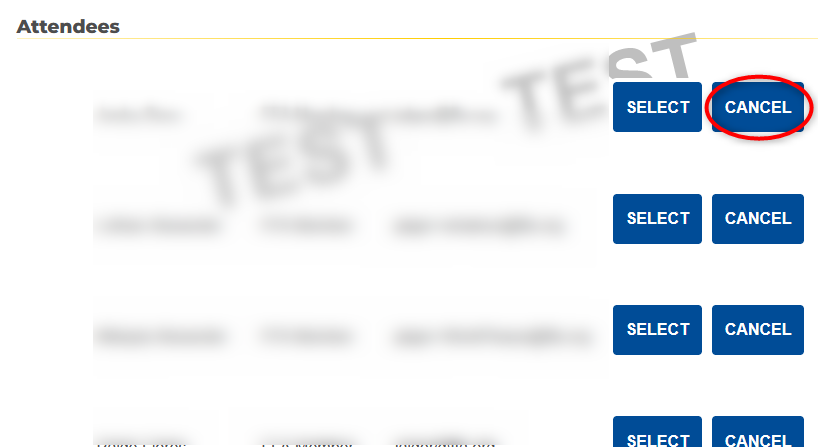
Remove attendee
Once logged in, from the attendee dashboard, click Assign/Edit Attendees button. ![]()